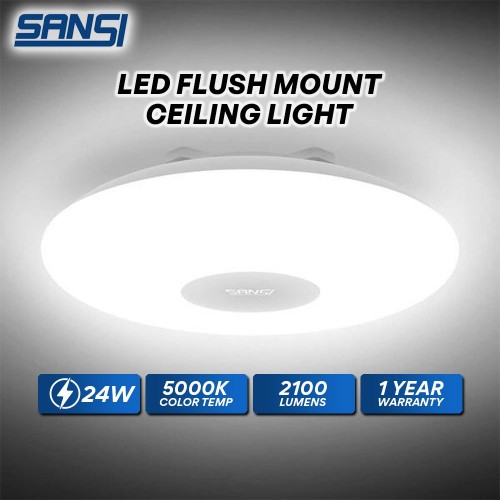
SANSI 24W LED Flush Mount Ceiling Light 5000K Cool White 2100 Lumens Full Moon Series 40CM (D)
SANSI 24W LED Flush Mount Ceiling Light 5000K Cool White 2100 Lumens Full Moon Series 40CM (D)
RM280.00
Price in reward points: 112000
- Brand Sansi
- Model: SANSI-C22PL-HC-24W-5000K
Products Sold: 0
Product Views: 2269
Descriptions
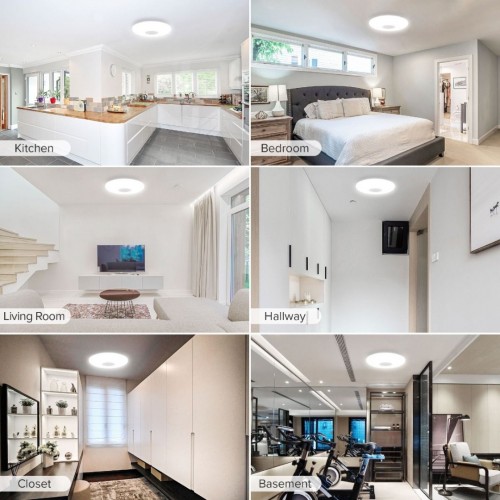
SANSI's integrated LED Flush Mount Ceiling Light is perfect for kitchens, closets, stairwells, dining rooms, Exhibition halls, dark hallways, bedrooms, basements, entryways, porches, laundry rooms and farmhouses, etc. The ivory white plastic housing and qualified LEDs realize the evenly distributed light, keeping your eyes free from the harsh glare of traditional fluorescent tube lighting. Instant on, RG0 zero blue light hazard. The appearance is elegant, neat, and concise, for different light decorations.
Specifications
- Model: C22PL-HC-24W
- Rated Input: 24W
- Input Voltage, frequency: AC 220V~ 50Hz
- Power Factor: 0.5
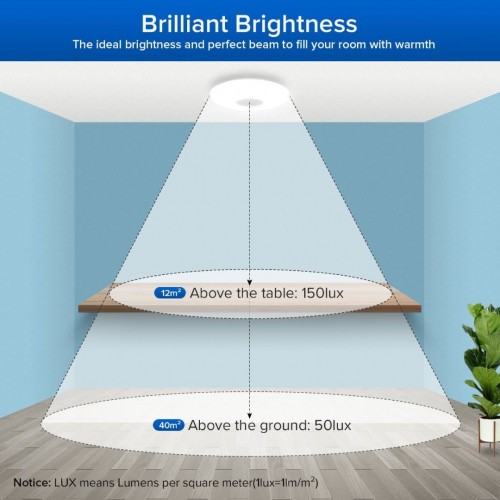
- Luminous Flux: 2100lm
- Beam Angle: 120°
- Color Temperature: 5000K
- Color Rendering Index: 80
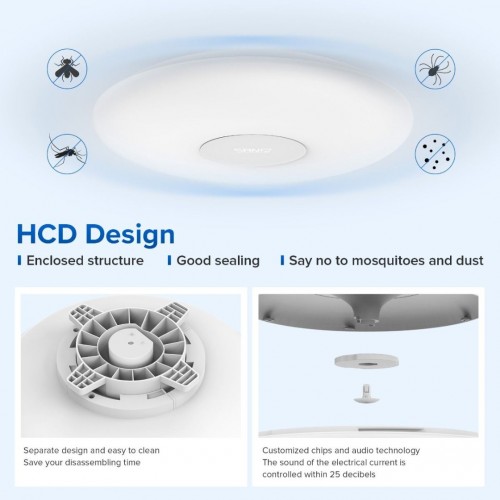
- Dustproof & Waterproof Grade: IP50
- Working Temperature: -10 - +40°
- Working Humidity: 10-95%RH
- Service Life: 25,000 hours
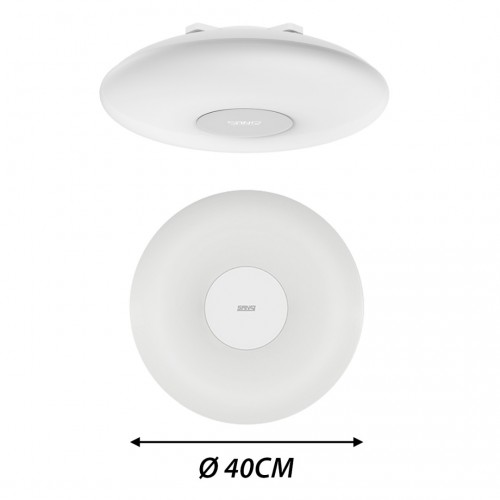
- Size: 400mm (D) x 119mm (H)
- Product Weight: 1.19kg
- Packaging Size: 435mm (L) x 160mm (W) x 440mm (H)
- Packaging Weight: 1.71kg
- Warranty: 1 Year (1 to 1 Exchange)
Install LED Ceiling Light
WARNING! Do not install the product in a circuit with a dimmer or dimmer switch
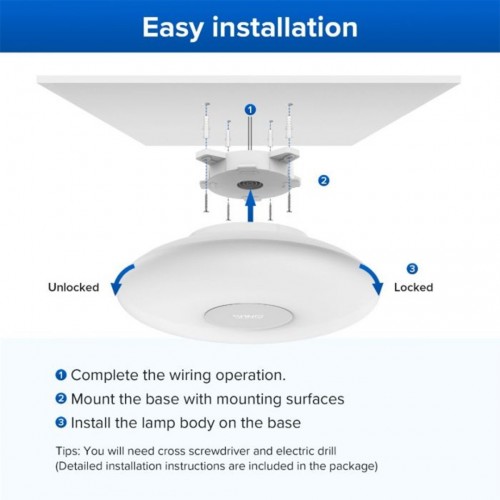
- Before installing the base on the installation surface (ceiling/roof net), please complete the wiring work.
- According to the bolt hole positions on the base, use appropriate power stations and drill bits to reserve mounting holes on the mounting surface
- Install the base onto the mounting surface and secure it with 4 sets of expansion bolts
- Intall the lamp body on the base and rotate it to the end to ensure that the installation is securely in place
- After successful installation, turn on the power (turn on the power switch)

